ພ.ຈ. . 08, 2024 17:29 ກັບໄປທີ່ລາຍຊື່
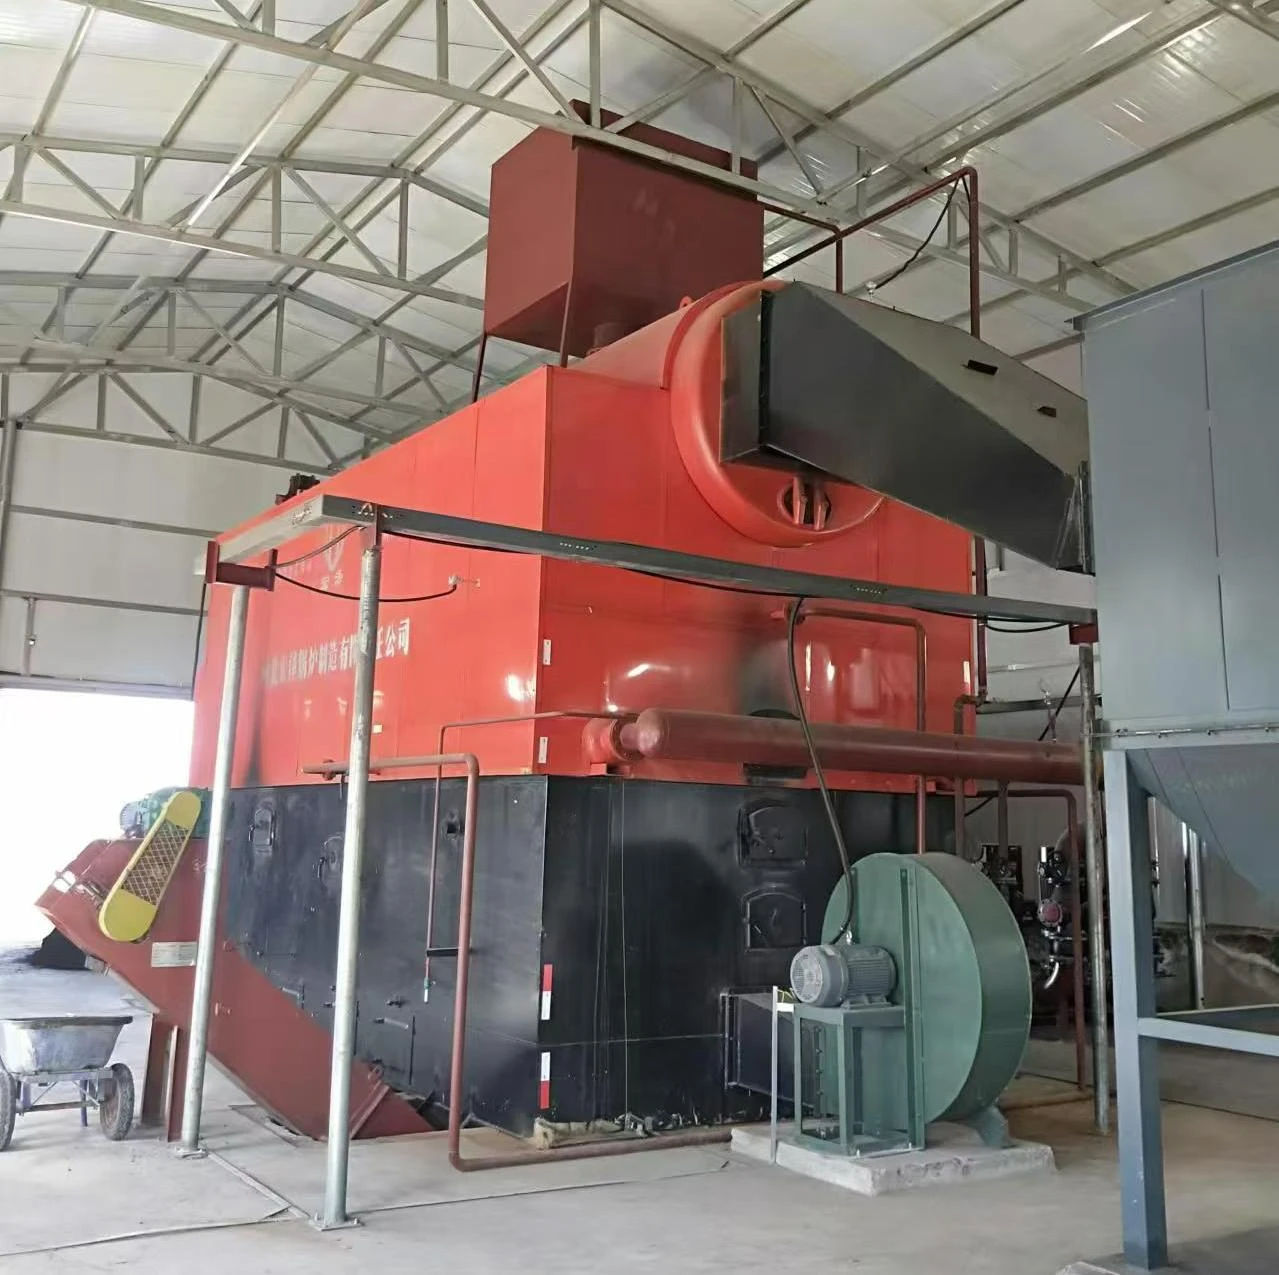
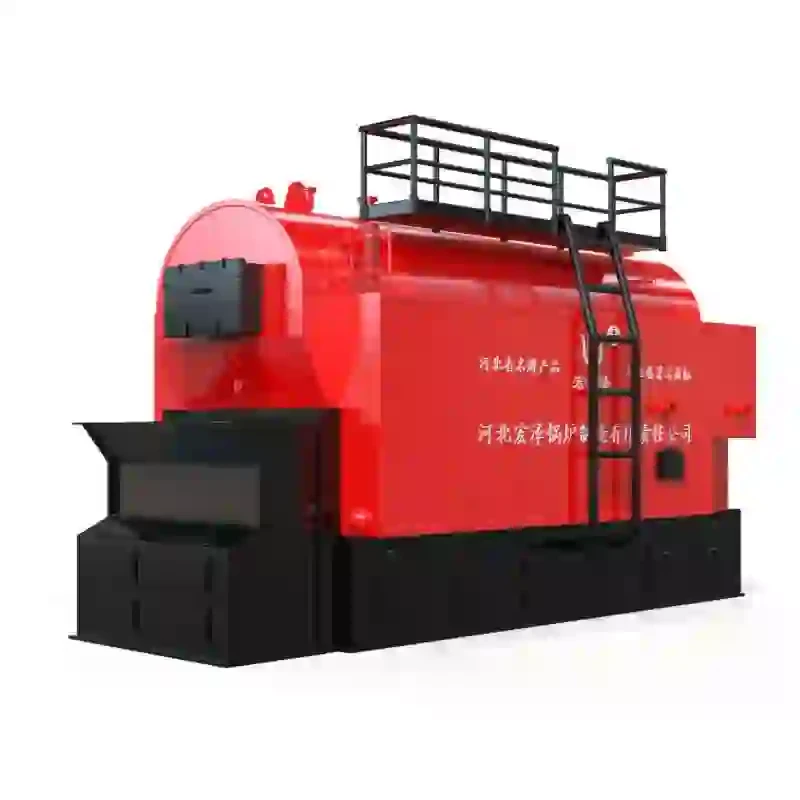
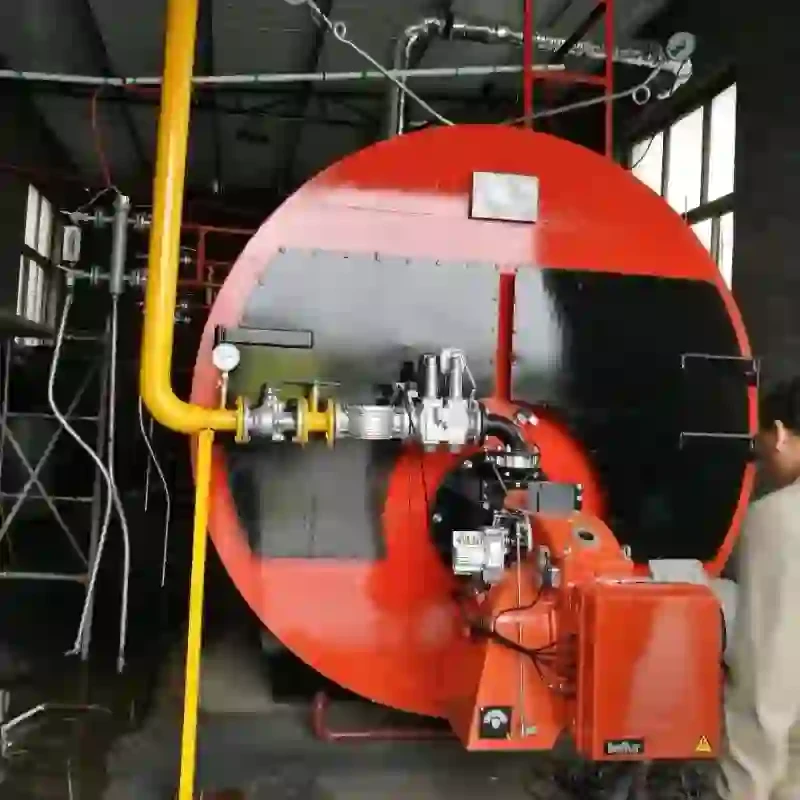
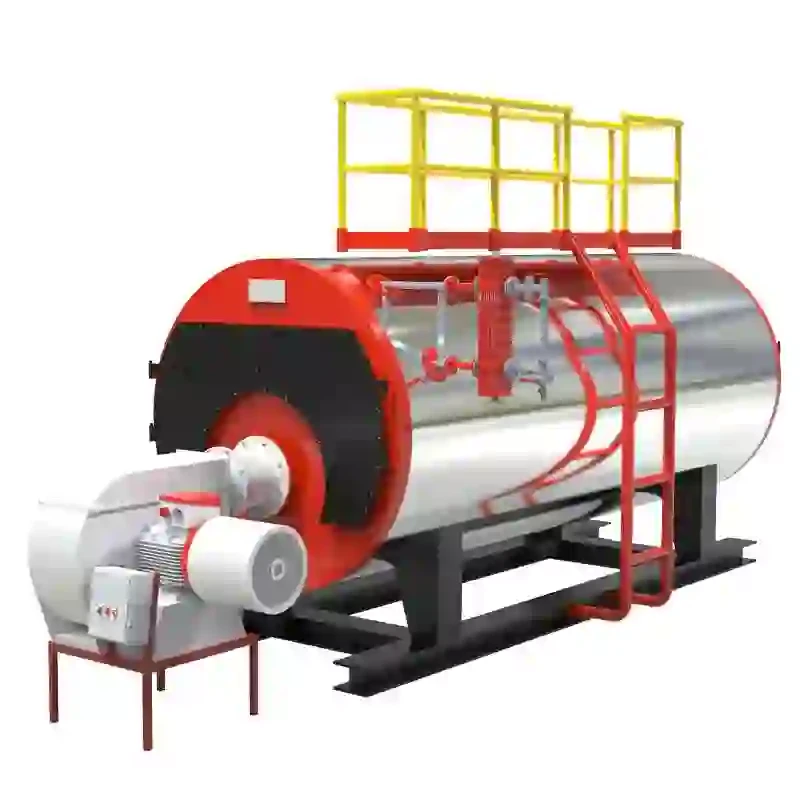
How to Install a Hot Water Boiler
Installing a hot water boiler can seem like a daunting task, but with the right knowledge and tools, you can tackle this project with confidence. Whether you are replacing an old system or installing a new hot water boiler for the first time, understanding the essential steps involved is crucial to ensure a safe and efficient installation. In this blog post, we will guide you through the process of installing a hot water boiler, highlighting key considerations along the way.
Step 1: Gather Necessary Tools and Materials
Before you begin, it’s vital to gather all the necessary tools and materials for your hot water boiler installation. Here’s a checklist to ensure you have everything you need:
- Hot water boiler unit
- Pipe wrenches
- Screwdrivers
- Adjustable pliers
- Drill with bits
- Level
- Tape measure
- Safety goggles
- Plumbing tape
- Pipe insulation
- Venting materials (if required)
Step 2: Select the Right Location
Choosing the right location for your hot water boiler is critical. Ideally, it should be in a well-ventilated area that meets local building codes and safety regulations. Make sure the space is large enough for the boiler and allows for adequate access for maintenance. Avoid placing it near flammable materials.
Step 3: Prepare the Area
Once you have selected the location for your hot water boiler, clear out any obstructions and prepare the area for installation. This may involve cleaning the space and ensuring that the floor is level. A stable surface is essential for the proper functioning of the boiler.
Step 4: Installing the Boiler
1. Position the Boiler: Carefully move the hot water boiler into the prepared area. Use a level to ensure it is correctly aligned.
2. Connect the Water Supply: Use plumbing tape to ensure a watertight seal, then connect the hot and cold water lines to the boiler. Be sure to follow any specific instructions outlined in the manufacturer's manual.
3. Set Up the Venting: If your hot water boiler requires venting, install the venting pipes according to the guidelines. Proper ventilation is essential for safety and efficiency, preventing the buildup of harmful gases.
4. Connect the Electrical Supply: For electric hot water boilers, follow the electrical codes in your area to safely connect the power supply. If you are unsure, it is always advisable to hire a licensed electrician.
Step 5: Fill the System
Once everything is connected, you’ll need to fill the hot water boiler system with water. Open the supply valves and ensure that all air is purged from the lines. Check for any leaks during this process and tighten connections as necessary.
Step 6: Test the System
The final step in installing your hot water boiler is testing its functionality. Turn on the power supply and set the thermostat to the desired temperature. Monitor the system for any unusual noises or leaks, and verify that the water is heating properly.
Installing a hot water boiler is a significant undertaking that requires careful planning and execution. By following these steps and paying close attention to safety and installation guidelines, you can successfully install your hot water boiler and enjoy reliable hot water in your home. If you ever feel uncertain during the process, don’t hesitate to consult a professional. With the right knowledge and preparation, you can ensure that your hot water boiler serves you well for years to come.
Remember, proper installation not only maximizes the efficiency of your hot water boiler but also extends its lifespan. Happy installing!
-
Types of coal fired steam boiler: Efficient & Low Emissions
ຂ່າວNov.17,2025
-
Types of Coal Fired Steam Boiler | Efficient & Reliable
ຂ່າວNov.17,2025
-
Reliable Steam Boiler Supplier for Industrial Solutions
ຂ່າວNov.17,2025
-
Coal Fired Hot Water Boiler | High Efficiency & Durable
ຂ່າວNov.17,2025
-
Reliable Industrial Steam Boiler Manufacturers for Efficient Operations
ຂ່າວNov.17,2025
-
Commercial Steam Boilers for Sale - Efficient, Gas & Oil
ຂ່າວNov.17,2025
ທີ່ກ່ຽວຂ້ອງ ຜະລິດຕະພັນ


