Sep . 10, 2024 21:18 Back to list
How to Install a Hot Water Boiler - Step-by-Step Guide
How to Install a Hot Water Boiler A Step-by-Step Guide
Installing a hot water boiler can seem like a daunting task, but with the right tools and a little guidance, it can be an achievable DIY project. A hot water boiler is essential for providing heating and hot water to your home, and knowing how to properly install one can save you time and money. Here’s a step-by-step guide on how to install a hot water boiler effectively.
Tools and Materials Needed
Before you begin, gather all necessary tools and materials. You will need
- The hot water boiler - Pipe wrenches - Screwdriver set - Adjustable pliers - Teflon tape - Pipe insulation - A level - A drain pan - Safety goggles and gloves
Step 1 Plan the Installation Location
Choose a location for your boiler that is both convenient and adheres to local building codes. The space should be well-ventilated and accessible for maintenance. Additionally, ensure that the floor can support the boiler's weight when full.
Step 2 Prepare the Area
Clear the installation area of any debris and ensure you have enough room to work. If you are replacing an existing boiler, turn off the power supply and shut off the water before removing the old unit. Make sure to drain any residual water from the pipes and the boiler.
Step 3 Connect the Water Supply Lines
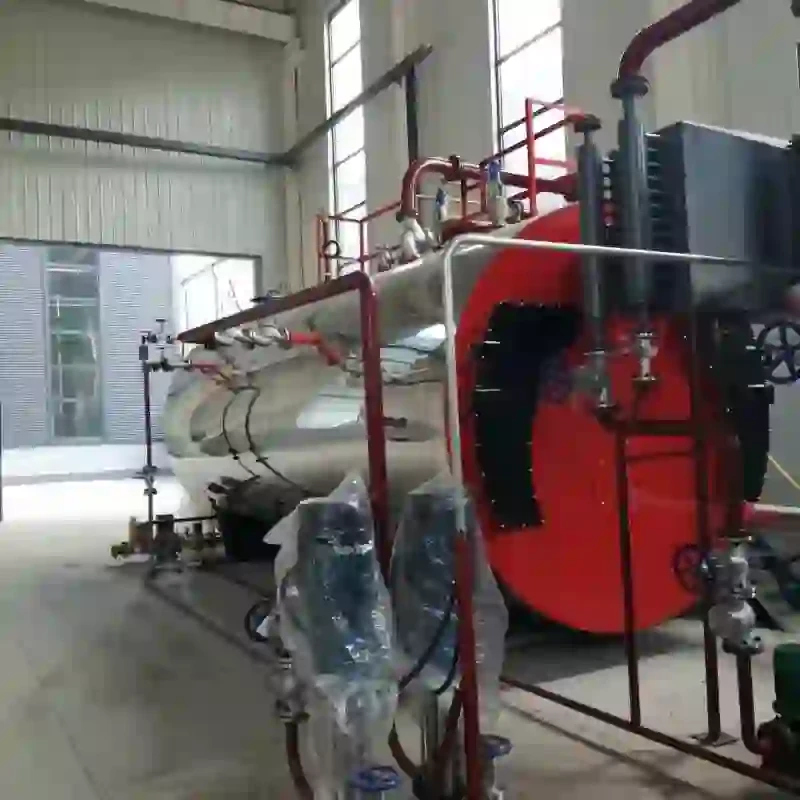
Position the new boiler in the designated area and connect the water supply lines. Use Teflon tape on the threaded fittings to create a watertight seal. Tighten the connections securely but be careful not to over-tighten, which could damage the fittings.
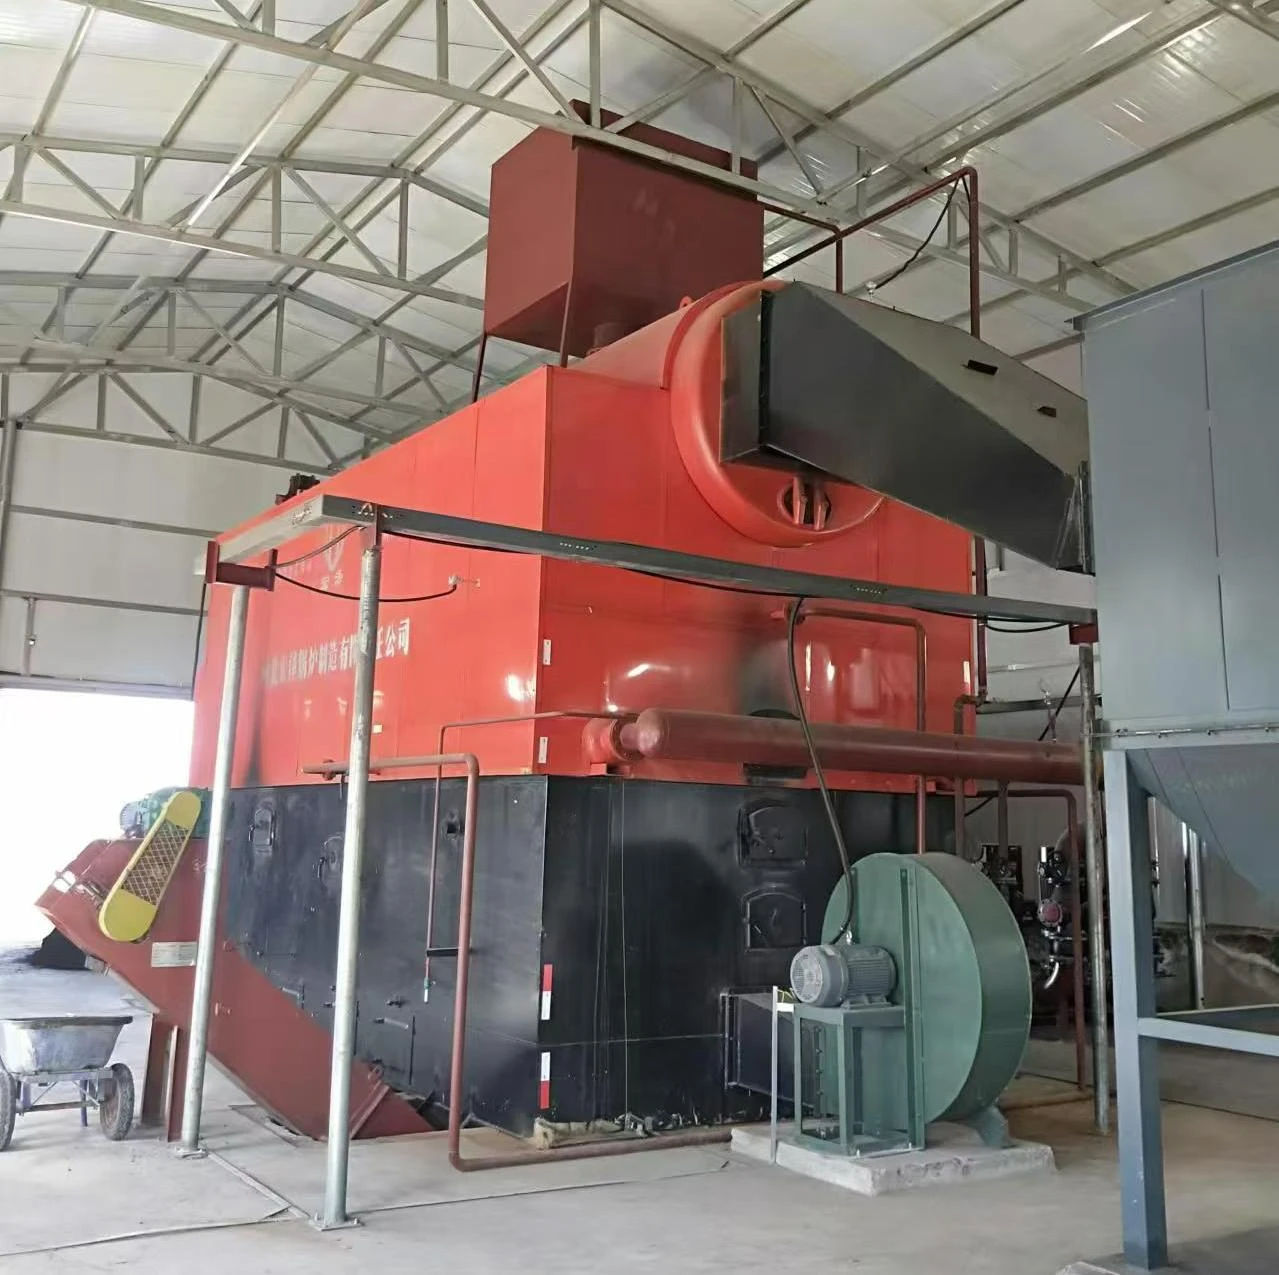
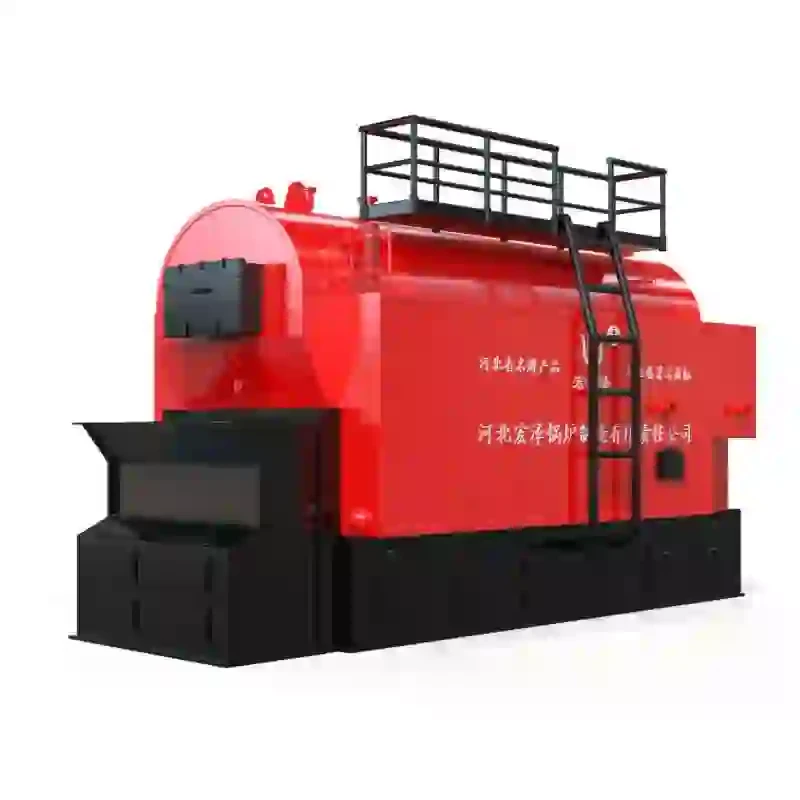
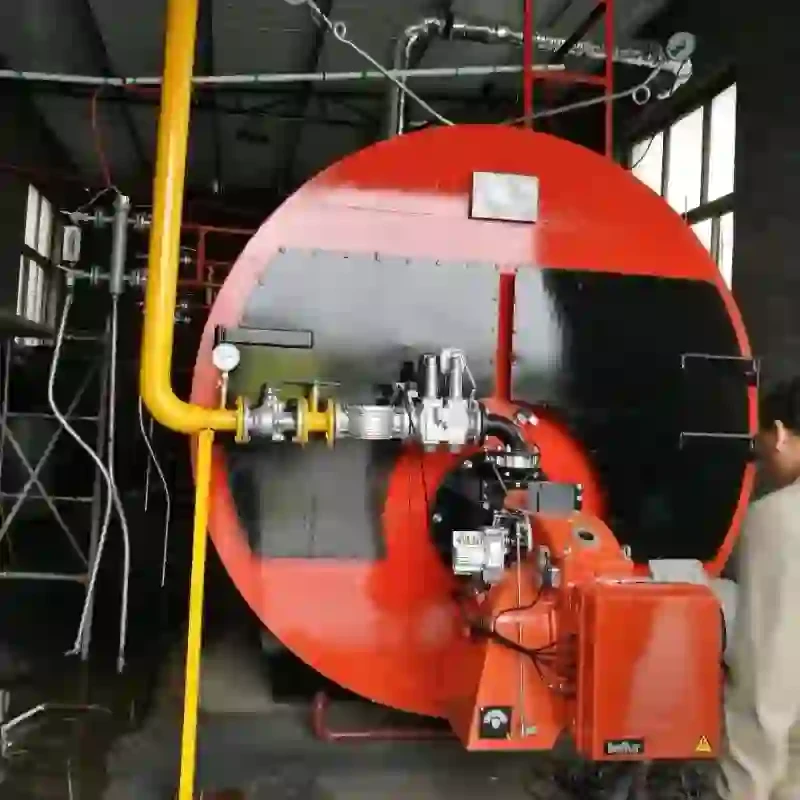
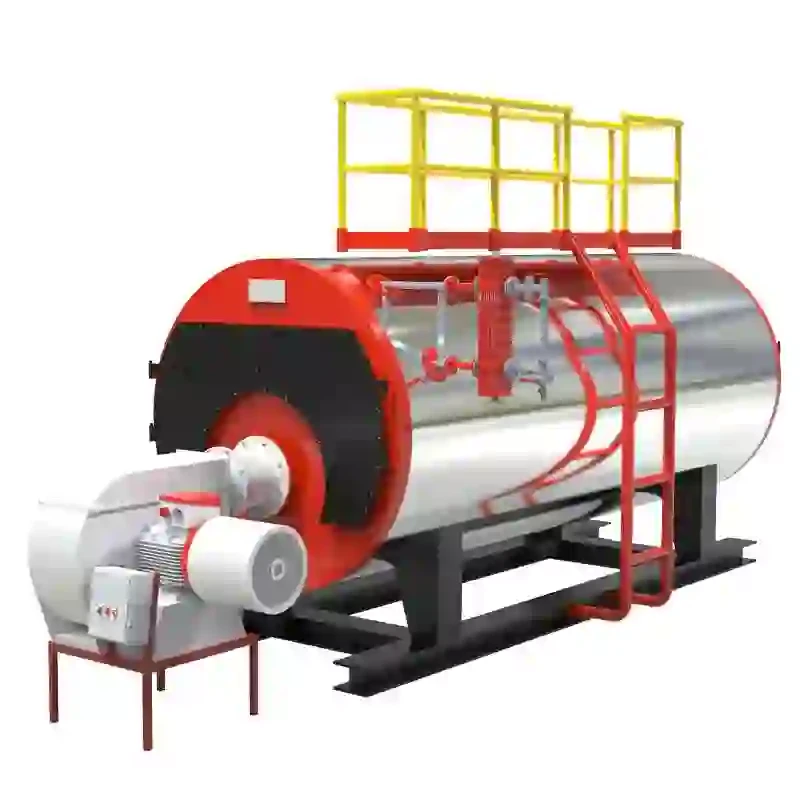
how to install a hot water boiler

Step 4 Install the Ventilation System
If your boiler requires a venting system, follow the manufacturer’s instructions to install it. Proper ventilation is crucial for the safe operation of your boiler, allowing harmful gases to exit your home. Make sure the vent pipe is properly angled, and keep it clear of any obstructions.
Step 5 Connect the Gas or Electric Supply
For gas boilers, connect the gas line carefully. It’s advisable to have a qualified technician do this step due to safety concerns. For electric boilers, connect the electrical lines in accordance with the manufacturer's specifications. Ensure that all electrical connections are secure and insulated.
Step 6 Fill the Boiler and Check for Leaks
Once all connections are made, fill the boiler with water. Open the valves to allow water to flow in. Check for any leaks around the connections. If you notice any leaking, turn off the water supply and tighten the connections as needed.
Step 7 Set the Thermostat and Test the System
Install the thermostat according to the manufacturer’s instructions. Once all components are linked, turn on the power supply and set the desired temperature. Monitor the boiler to ensure it is heating the water to the correct temperature, and check again for leaks.
Conclusion
Installing a hot water boiler involves careful planning and precise execution, but following these steps can lead to a successful installation. Always consult with a professional if you are unsure about any part of the process, especially when it comes to gas lines and electrical connections. With the right approach, you'll enjoy the comfort of efficient hot water heating in your home for years to come.
-
Best Steam Boiler Design PDF Free Design Calculation & Diagram Downloads
NewsJun.10,2025
-
Hot Boiler Water Heater Efficient Heating Solutions for Home & Commercial Use
NewsJun.10,2025
-
Steam Boiler Safety Devices High-Quality Protection Valves
NewsJun.10,2025
-
Ultimate Steam Boiler Checklist for Safety & Efficiency
NewsJun.10,2025
-
Optimal Hot Water Boiler Temperature Setting Guide
NewsJun.10,2025
-
Effective Hot Water Boiler Chemical Treatment Protect & Maintain
NewsJun.09,2025
Related PRODUCTS


