Eyl . 22, 2024 07:07 Back to list
how to install a hot water boiler
How to Install a Hot Water Boiler
Installing a hot water boiler can be a rewarding yet complex task that requires careful planning and execution. Whether you are replacing an old boiler or installing a new system, ensuring that the installation is done correctly is crucial for the system’s efficiency and longevity. Here’s a step-by-step guide to help you through the process.
Step 1 Planning and Preparation
Before beginning the installation, it is essential to assess your needs. Determine the size and type of boiler that fits your household requirements. Consider factors such as the number of bathrooms, the size of your home, and your hot water consumption patterns. Additionally, check local building codes and regulations to ensure compliance.
Step 2 Gather Necessary Tools and Materials
You will need various tools and materials for the installation, including wrenches, screwdrivers, pipe cutters, and sealing tape. Make sure you have the boiler unit, necessary piping, valves, fittings, and electrical components ready.
Step 3 Safety First
Turn off the electrical supply and shut off the water supply to your existing boiler. Drain any residual water from the old unit. Always wear appropriate safety gear, including gloves and goggles, during the installation process.
Step 4 Removal of the Old Boiler
Carefully detach the old boiler from the plumbing and electrical connections. Take note of how everything is connected, as this will help you with the new installation. Dispose of the old boiler according to local regulations.
how to install a hot water boiler

Step 5 Installing the New Boiler
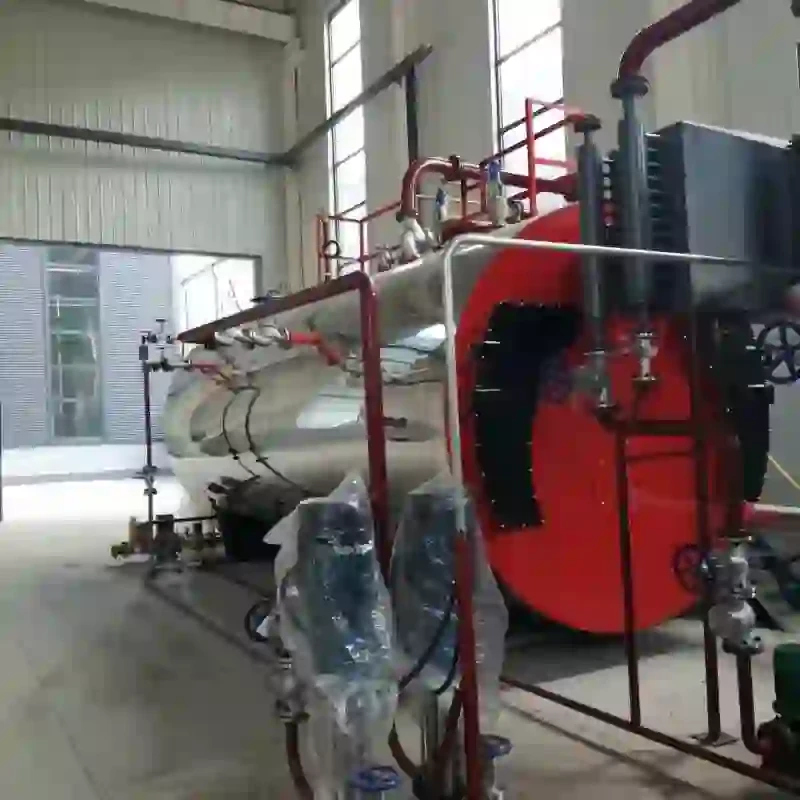
Position the new boiler in the designated area, ensuring it is level and securely mounted. Connect the water supply lines, making sure to use proper fittings and seals to prevent leaks. Attach the heating pipes, following the manufacturer’s instructions for specific connections.
Step 6 Electrical Connections
If your boiler requires electrical connections, ensure that all wiring meets local code requirements. If you are uncertain, it is advisable to hire a qualified electrician.
Step 7 Fill and Test
Once all connections are made, turn on the water supply and fill the system. Check for any leaks around the joints and fittings. After ensuring everything is secure, reconnect the electrical supply and power on the boiler. Allow the system to run for a while, monitoring the pressure gauge and temperature settings.
Step 8 Final Check
After a successful test run, conduct a final inspection to ensure everything is functioning correctly. Familiarize yourself with the boiler’s controls and maintenance requirements.
Installing a hot water boiler can be challenging, but by following these steps and taking the necessary precautions, you can ensure a smooth and successful installation. If you encounter any problems or uncertainties during the process, don’t hesitate to consult with a professional.
-
How to Maintain a Steam Boiler Expert Tips for Efficiency & Longevity
NewsApr.29,2025
-
Professional Steam Boiler Service AB Expert Maintenance & Repair
NewsApr.29,2025
-
Hot Water Steam Boilers Efficient Heating Solutions & Expert Tips
NewsApr.29,2025
-
Hot Water Boiler Capacity Calculation Guide Efficient Design Tips
NewsApr.28,2025
-
How to Drain a Steam Boiler Step-by-Step Safety Guide
NewsApr.28,2025
-
How to Install a Hot Water Boiler Optimal Pressure & Efficiency Guide
NewsApr.28,2025
Related PRODUCTS


